
Teams
Create a team, invite members with roles, and share your projects, databases, and GPU instances across the whole team.
A team lets you collaborate on NevTan Cloud: bring people in with role-based access control (RBAC), then share resources like projects, databases, and GPU instances so everyone works against the same infrastructure under one owner.
How teams work
- Anyone can create a team from the console — the creator becomes its owner.
- The owner opens the Invite modal to bring people in by email and assigns each an
owner,admin,member, orviewerrole. - Owners and admins share resources with the team from the sharing screen so members can use them without re-provisioning.
Teams vs. project collaborators
NevTan has two different, complementary ways to bring people into your account — pick the one that matches the scope of access you want to grant.
| Teams | Project collaborators | |
|---|---|---|
| Scope | Organization-wide — spans every resource you share with the team | A single App Platform project |
| Roles | owner, admin, member, viewer | Viewer, Developer, Admin, Billing Manager |
| Grants access to | Any project, database, or GPU instance you assign to the team | Just that one project |
| Where to manage it | Members & roles | Project collaborators |
Use a team when several people need standing access across multiple resources — for example, an engineering team that should see every project and database in the account. Use project collaborators when you just need one person working on one project, without giving them account-wide reach.
A few concrete scenarios
- A small company with one product. Most of the time this just needs project collaborators on the App Platform project — everyone touching the app is already touching that one project, so an org-wide team adds a layer of indirection without adding anything useful.
- A growing company with several projects, a database, and a GPU instance shared by the same engineers. This is the point a team pays off — instead of inviting the same five people to three different resources one at a time, invite them once to a team and share each resource to it.
- A contractor who only needs one project for a few weeks. Add them as a project collaborator, not a team member — when the work ends, remove them from that one project instead of untangling their access to everything else the team shares.
- An agency managing projects for multiple clients under one account. Teams scoped per client (or per client's set of resources) keep one client's collaborators from ever seeing another client's projects, databases, or GPU instances.
The two systems don't conflict — a person can be a team member and a project collaborator on top of that if they need finer-grained access to one specific project than their team role would otherwise imply.
The team lifecycle
Create a team
- 1Open TeamsFrom the dashboard sidebar, open Teams and click Create a new team.
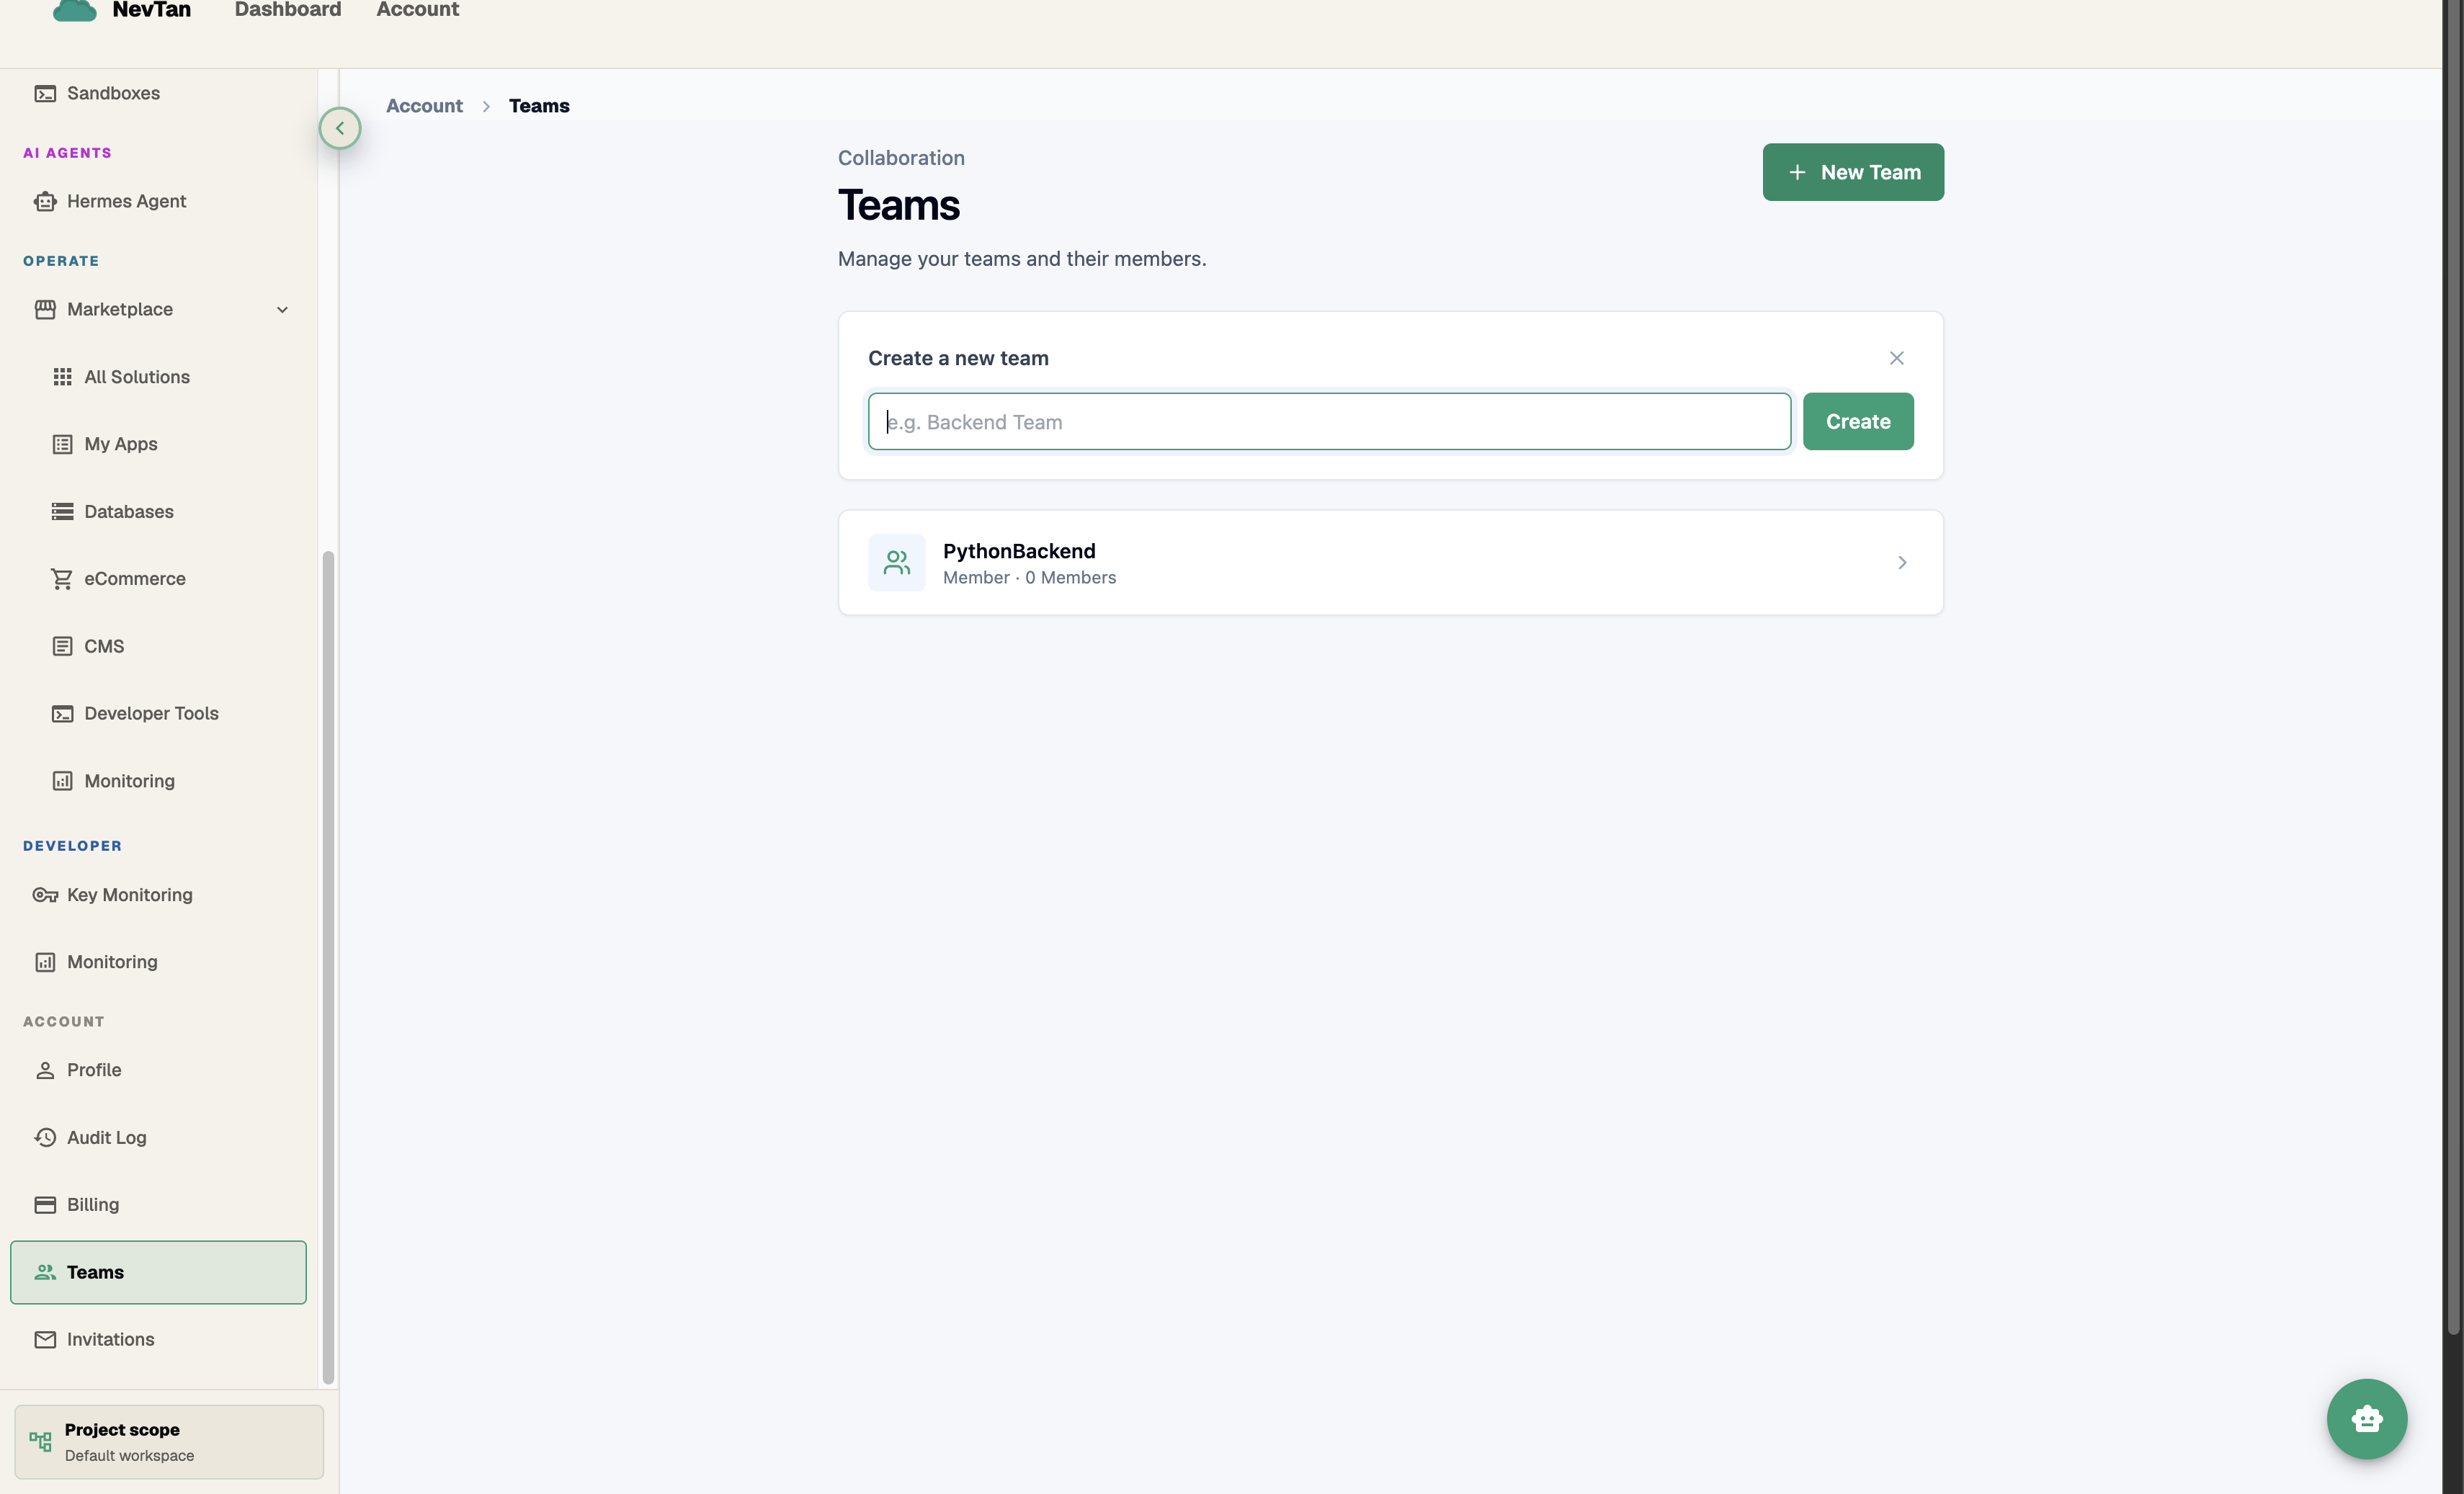
Name it and go — a team is ready the moment you create it. - 2Name your teamGive it a name your teammates will recognize — you can rename it later from the team's settings.
- 3Start invitingOnce the team exists, open it to invite your first member and share your first resource.
Explore
View a team's members, change roles from a dropdown, and remove people. Understand what owner, admin, member, and viewer can each do.
Invite by email from a modal, track pending invitations, and revoke one you sent.
Assign a project, database, or GPU instance to a team — and remove it later.