Quickstart
Create an account, deploy your first app, and try AI inference — all from the console, no code required.
Two paths, same account: deploy a repo in under five minutes, or try a model in the Playground in under one.
Deploy your first app
- 1Create an accountSign up at cloud.nevtan.com and verify your email.
- 2Connect a git providerFrom the dashboard, connect GitHub or Bitbucket so NevTan can see your repositories. See Integrations.
- 3Create a projectPick a repository and branch. NevTan auto-detects the framework and generates a build configuration — or you can bring your own Dockerfile.
- 4DeployClick Deploy and watch the build progress live. Once it reports healthy, your app is live on a default subdomain.
Try AI without writing code
- 1Open the PlaygroundFrom the dashboard sidebar, open Playground under Inference.
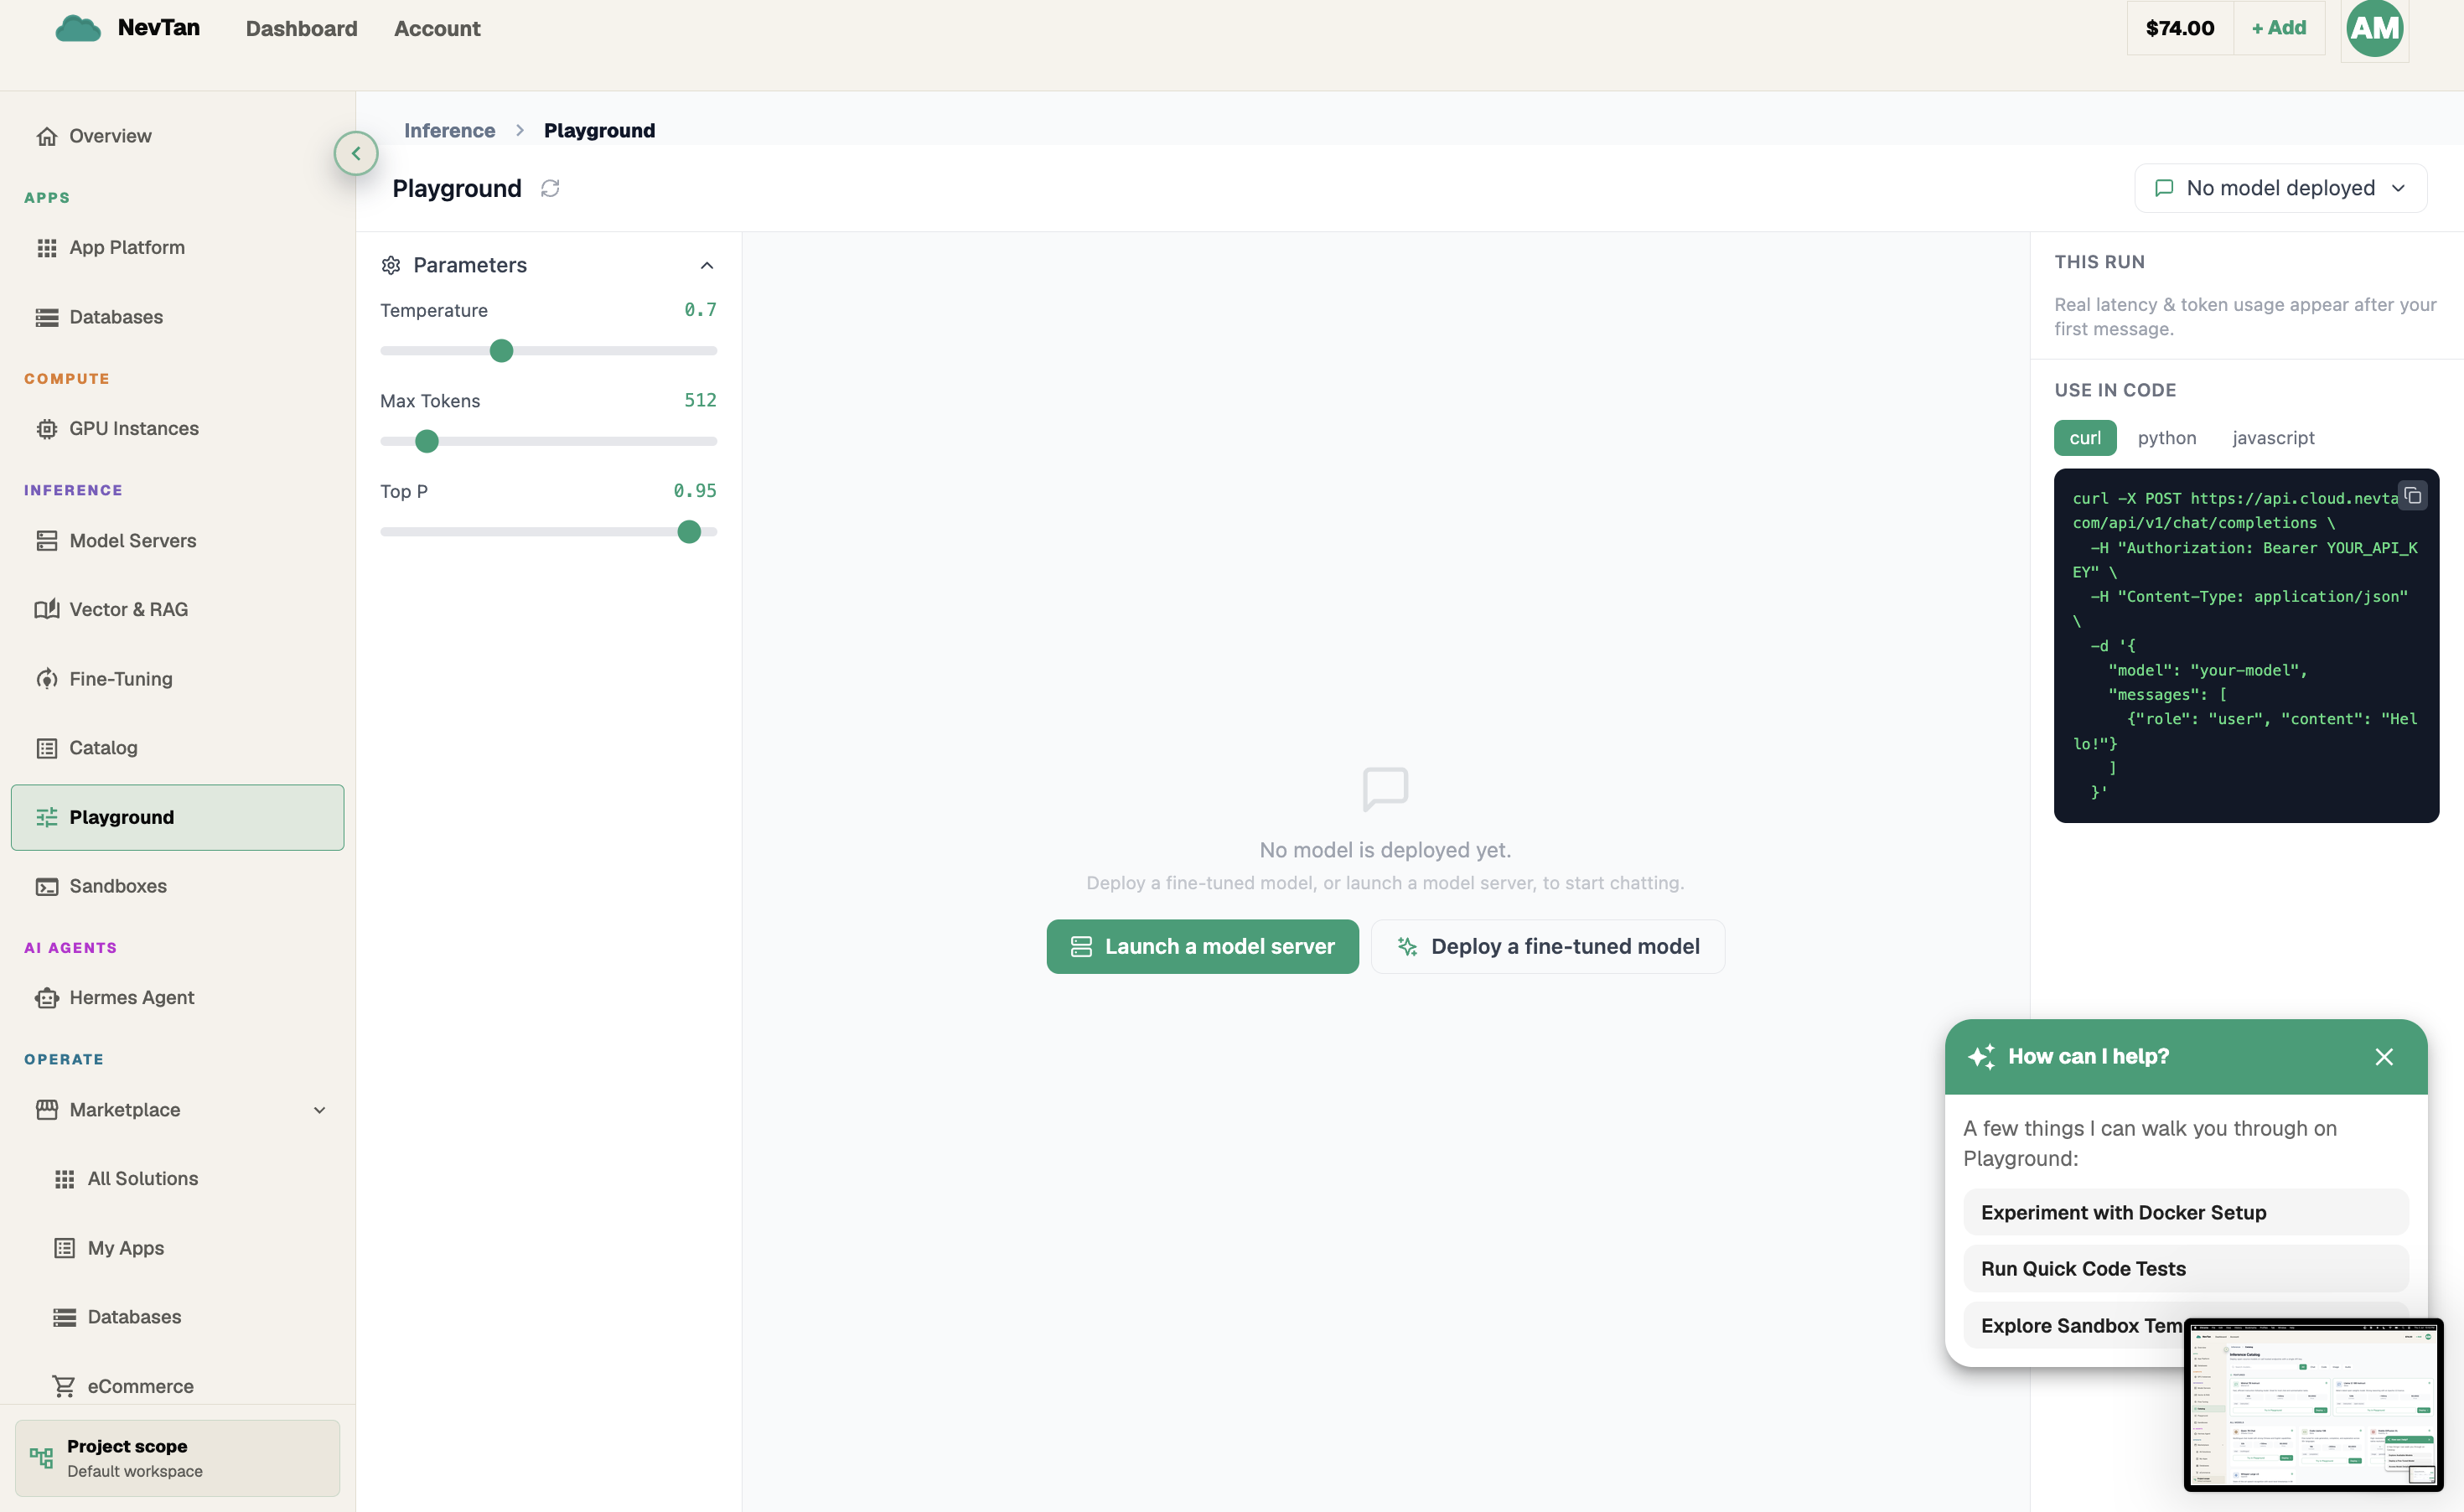
The Playground — pick a model and start chatting, no code required. - 2Pick a modelChoose from the model catalog — chat, embeddings, image, or audio models are all available to try.
- 3Send a messageType a prompt and see the response stream back in real time, directly in the console.
What to reach for next
- Need a place to store data? Databases gives you managed Postgres, MySQL, MongoDB, and Redis with trusted-source allowlists and daily backups — create one from the console and it's ready in minutes.
- Need your app to answer from your own documents instead of general knowledge? Vector RAG covers uploading documents, syncing external sources, and querying a collection for grounded answers.
- Need a GPU for training or a heavier model than the catalog offers? GPU Instances walks through browsing offers and launching on-demand hardware.
- Building with others? Teams covers inviting teammates, assigning roles, and sharing projects before things get more complex.
Note
Every feature in these docs is something you configure and run from the dashboard — there is no separate integration step required to get started.