
Create a database
Provision a managed cluster by choosing an engine, version, package, and region on the Create Database form.
A database is fully described by engine, version, size, name, username, region, and network. The Create Database form walks through this in three steps — Select product settings, Choose region and network, Review and create — and NevTan handles the rest.
Create a database
- 1Open Create DatabaseFrom the Databases section of the console, click Create Database.
- 2Pick an engine and versionChoose PostgreSQL, MySQL, MongoDB, or Redis, then pick an available version for that engine.
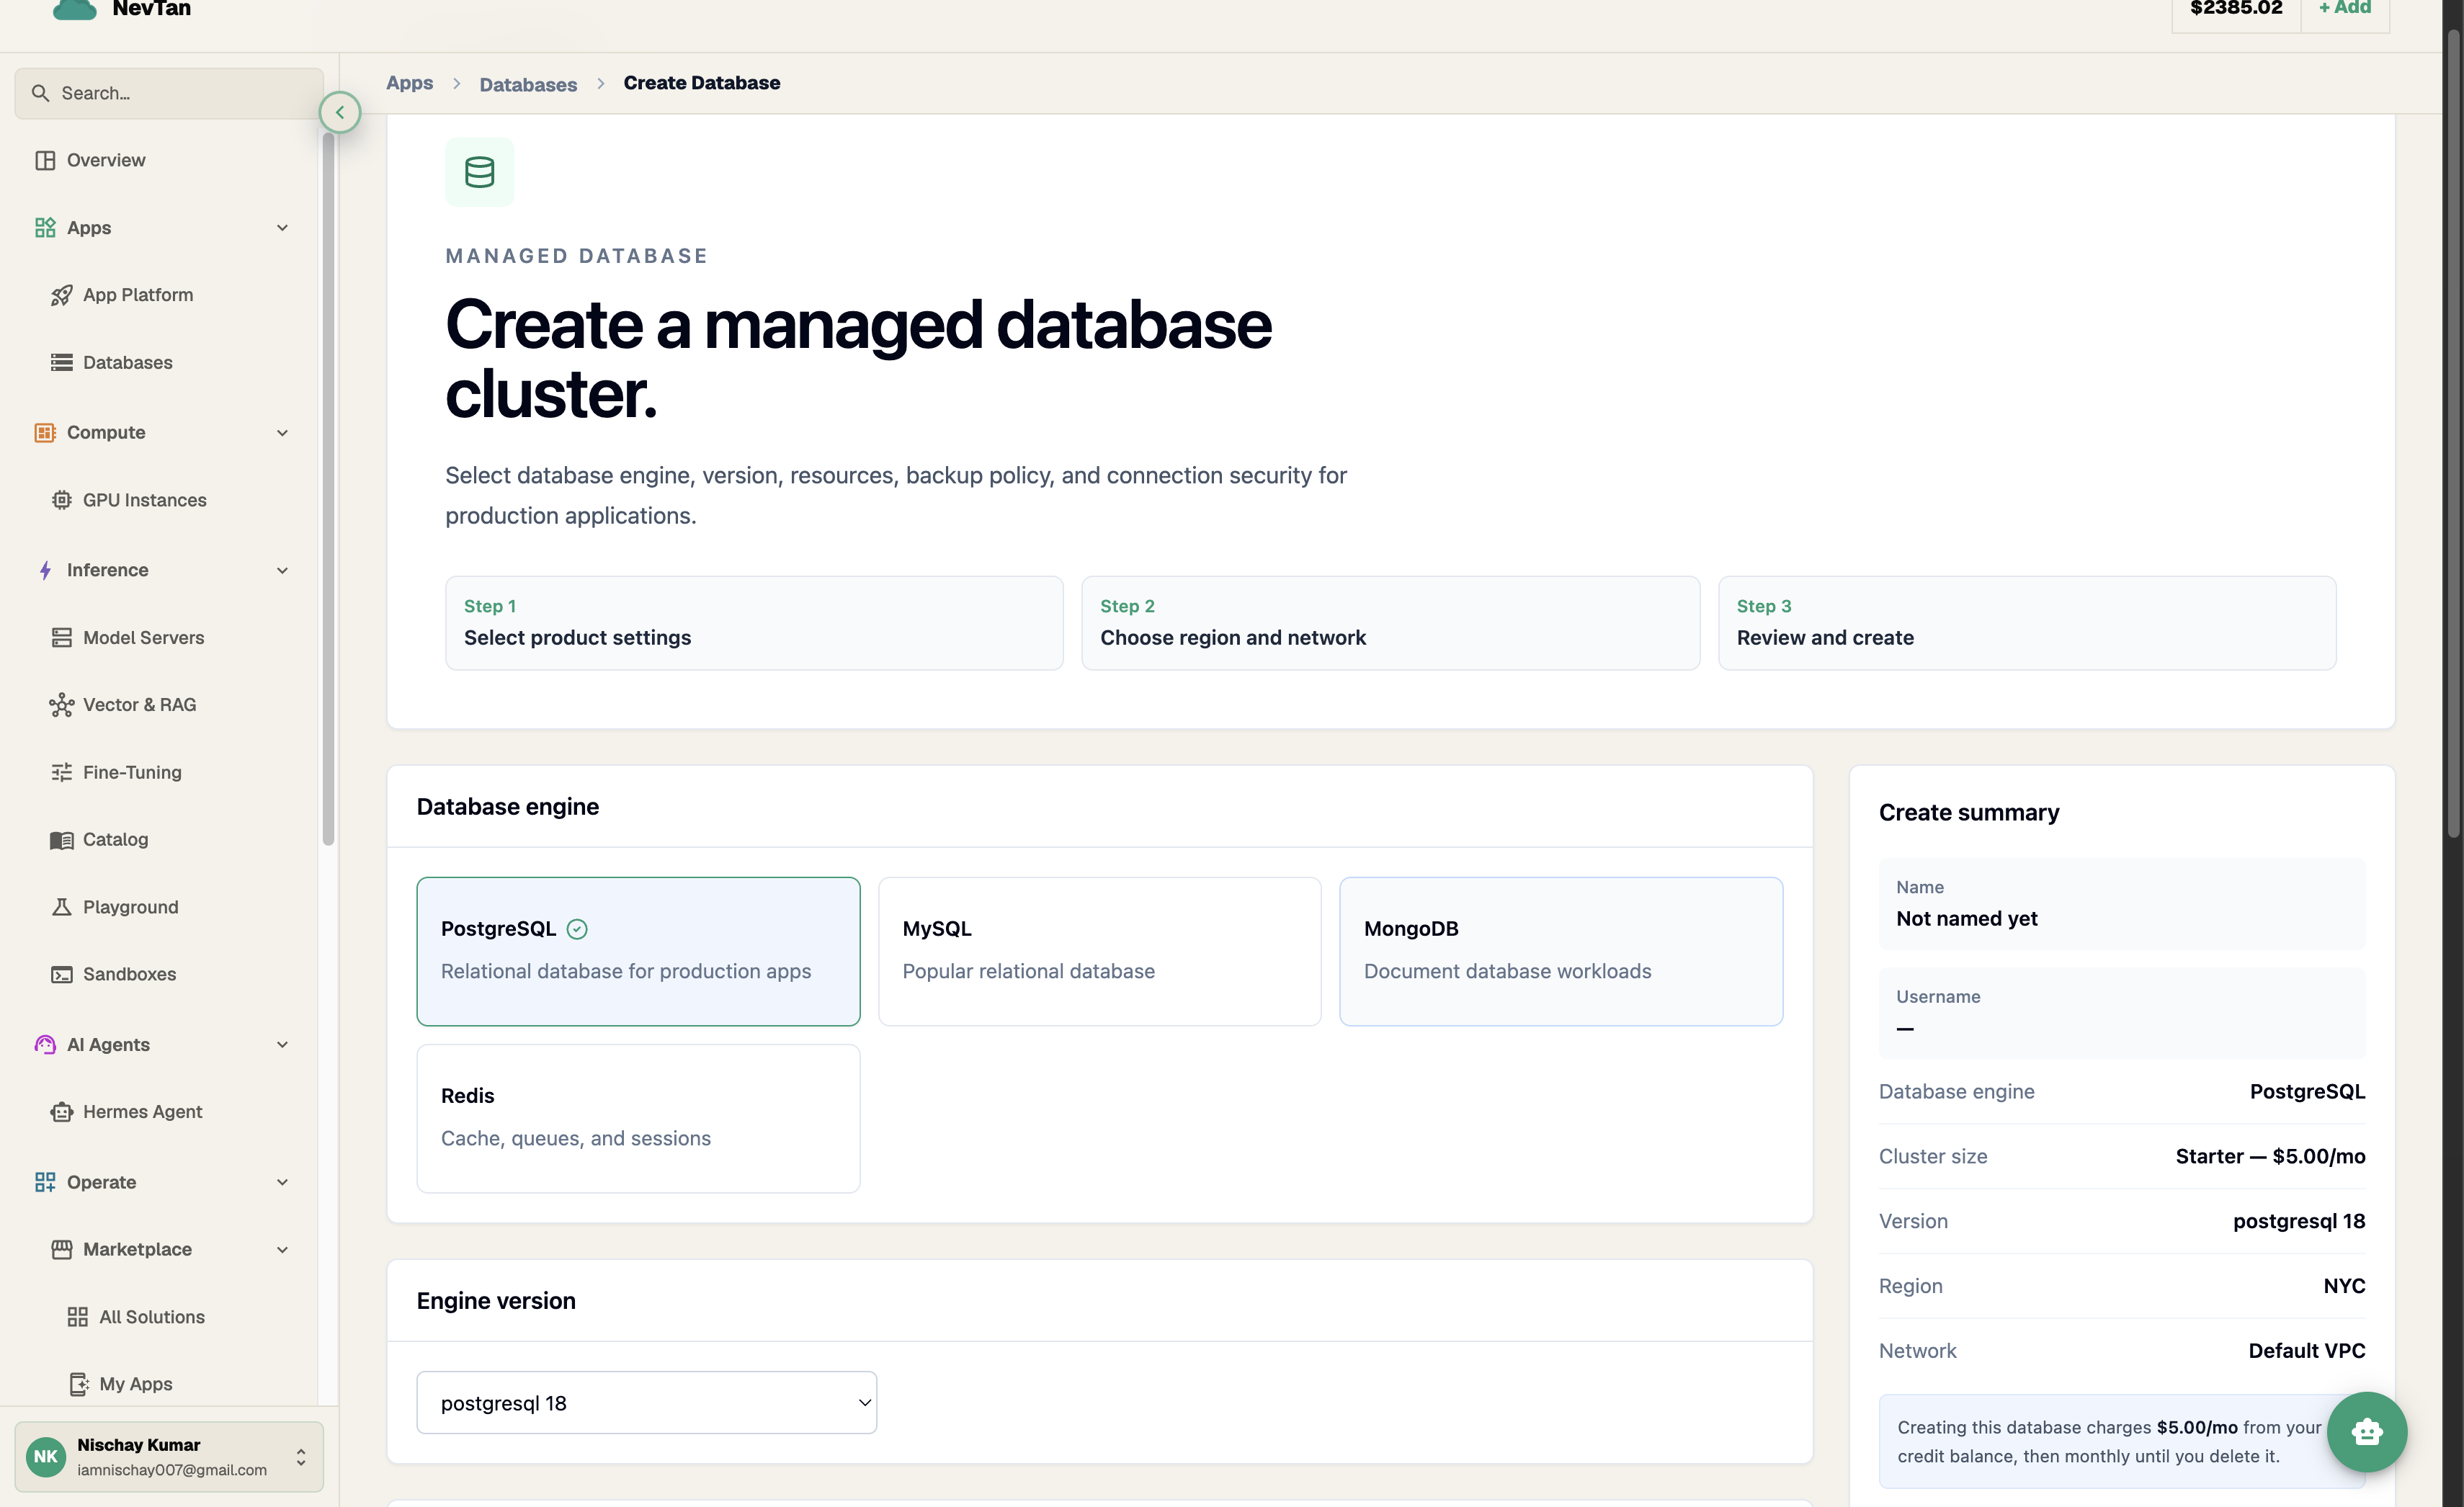
Pick an engine — the version dropdown updates to match. - 3Pick a cluster sizeChoose Starter, Production, or High Memory. The summary sidebar updates its price live as you pick.
- 4Name the database and set a usernameThe name is for your own reference in billing and monitoring (placeholder example:
production-postgres); the username is your DB login (lowercase letters, digits, and underscores — placeholder example:dbadmin). - 5Choose a region and networkPick a region and a network mode — see Choosing a network below.
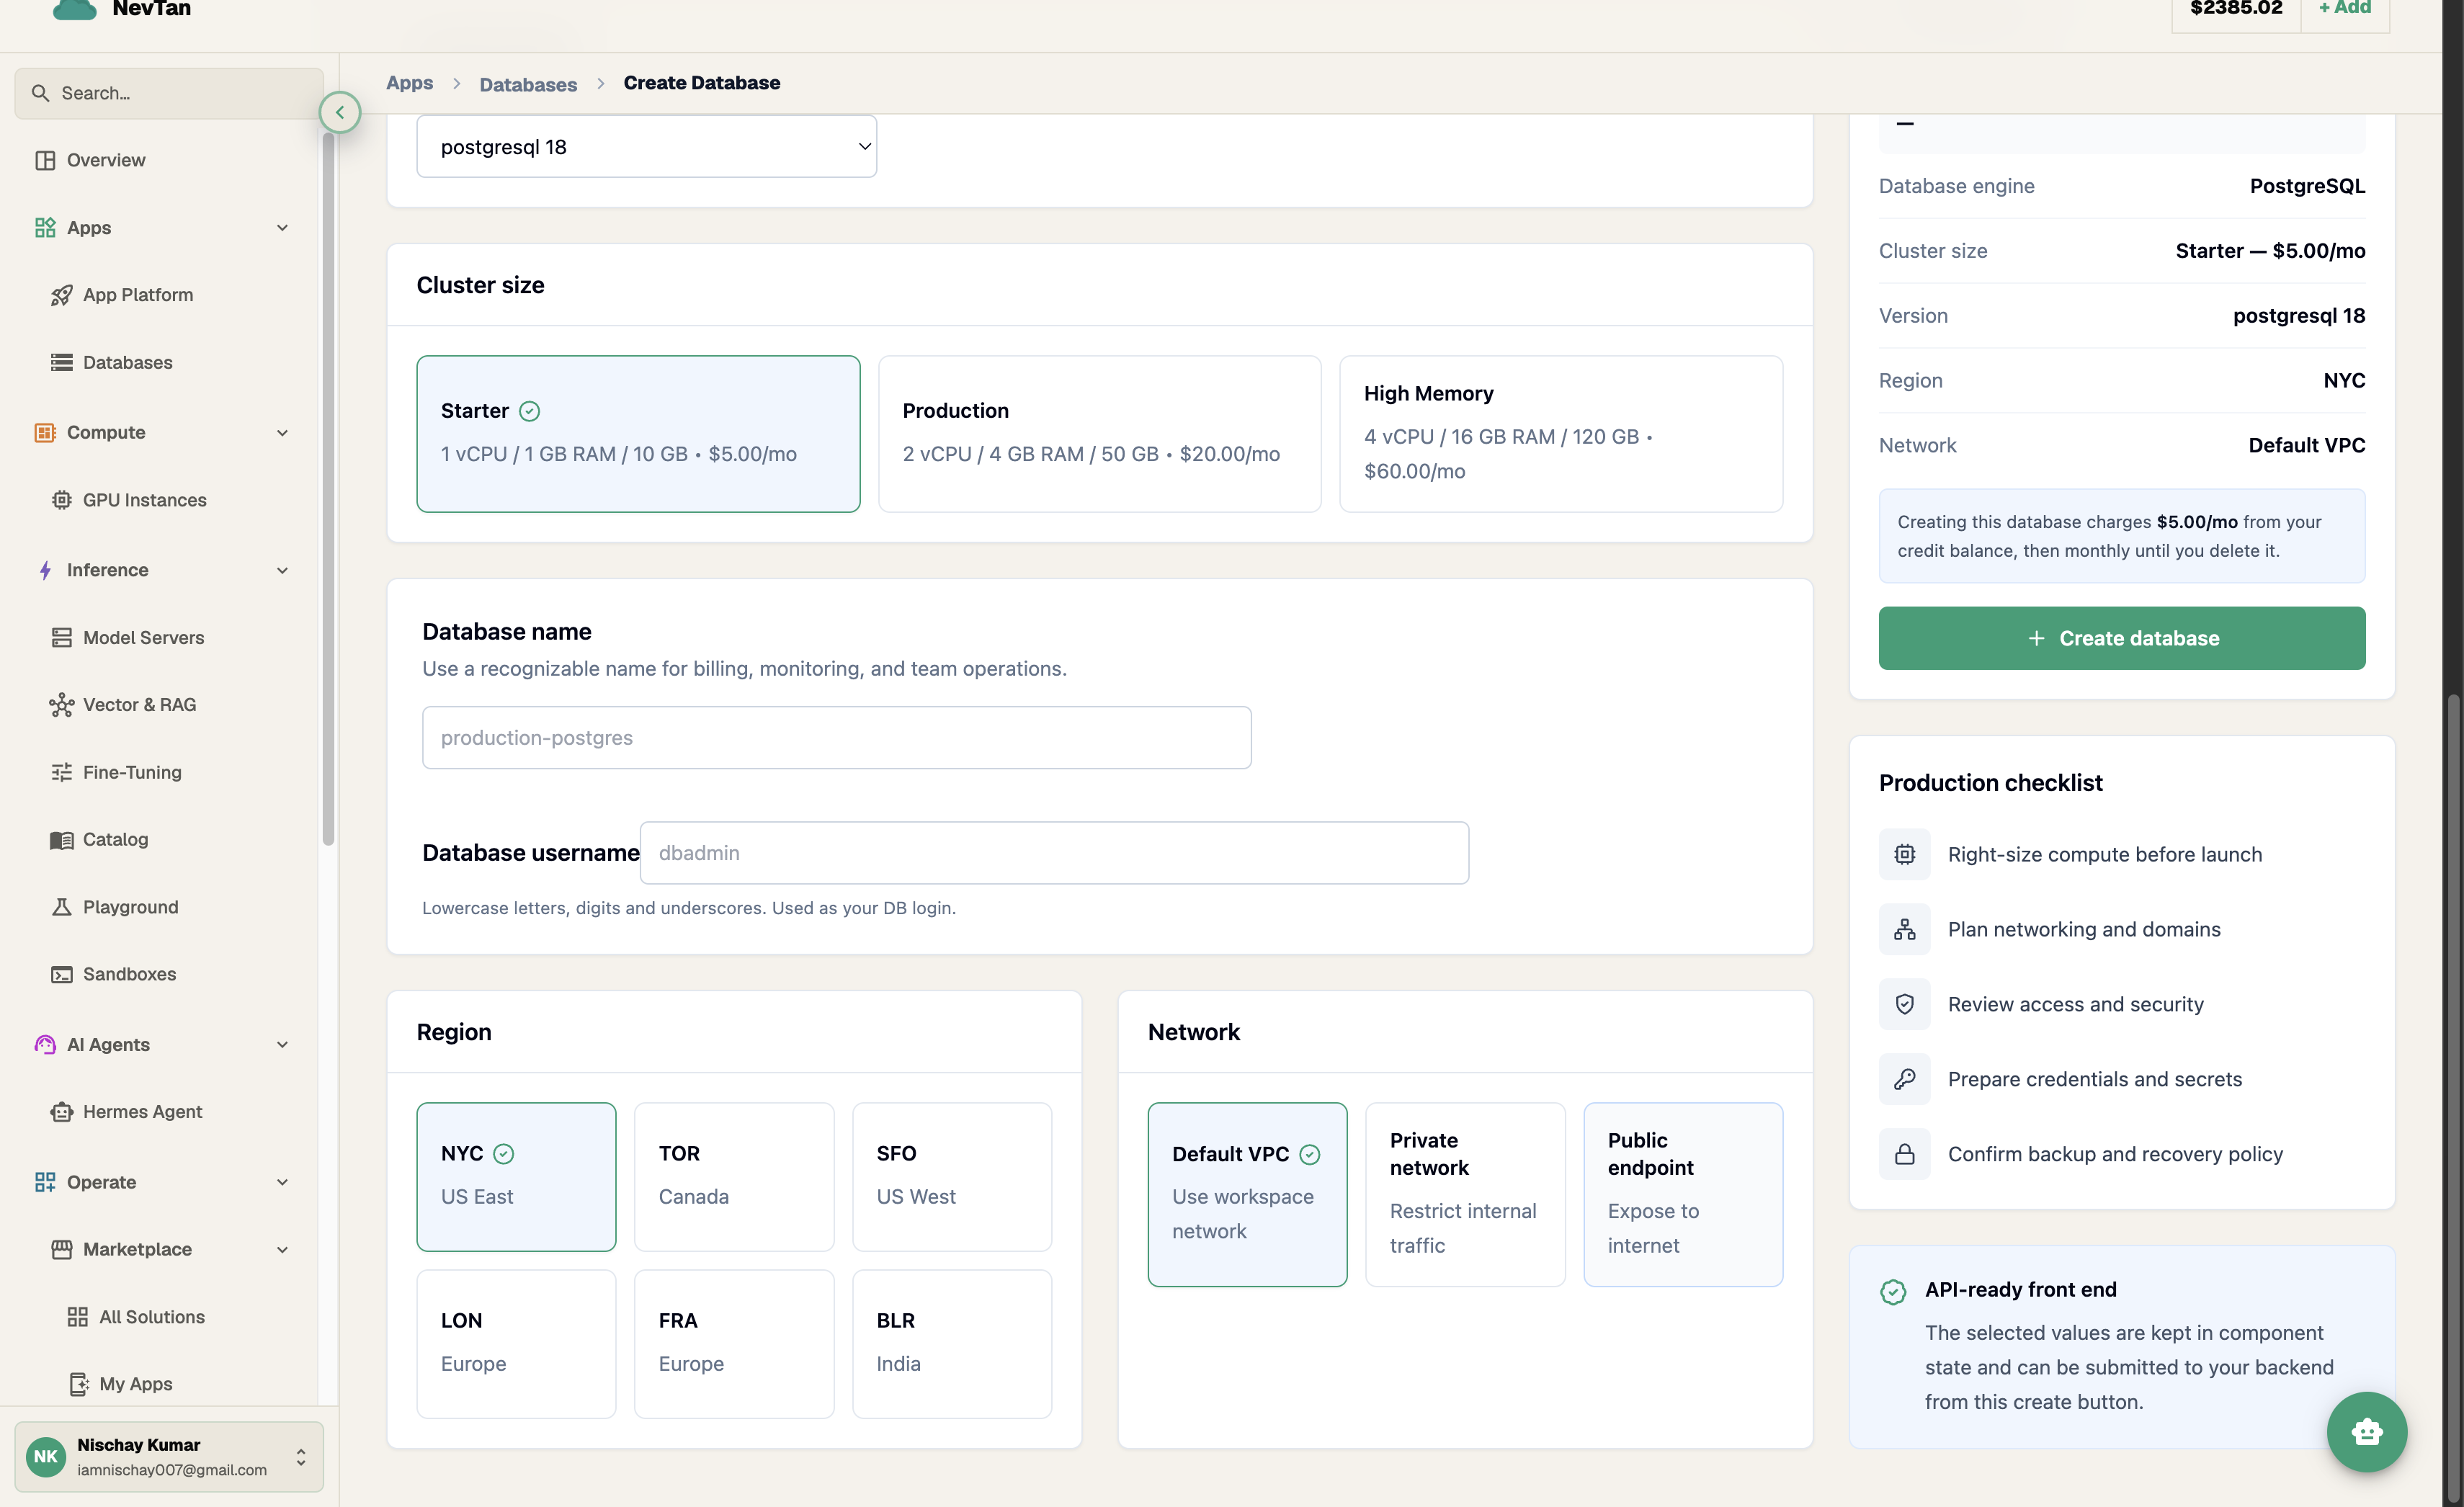
Size, name, region, and network — with the cost shown before you commit. - 6Review and createThe sidebar shows the exact monthly charge before you commit. Click Create database — it appears in your list with a provisioning status right away.
Choosing a network
Three network modes are available when creating a database:
- Default VPC — uses your workspace network. This is the default selection.
- Private network — restricts internal traffic further. This is the only mode where a Trusted Sources allowlist appears on the database's page — connections are only accepted from IPs/CIDRs you explicitly add.
- Public endpoint — exposes the database to the internet.
Create Database form fields
| Parameter | Type | Description |
|---|---|---|
enginerequired | string | One of postgresql, mysql, mongodb, or redis. |
versionrequired | string | An available version for the engine. See Engine versions. |
packagerequired | string | Cluster-size package. See Packages. |
namerequired | string | A human-readable name for the cluster, used for billing and monitoring. |
usernamerequired | string | Lowercase letters, digits, and underscores only — this becomes your database login. |
regionrequired | string | The region to provision the cluster into. |
networkrequired | string | One of Default VPC, Private network, or Public endpoint. |
Creating a PostgreSQL database
- 1Pick PostgreSQL as the engine
- 2Choose a versionPostgreSQL 18, 17, 16, 15, or 14 — whichever you pick is exactly what gets installed on your cluster.
- 3Pick a package and region, name it, and create
- 4Wait for active status, then add a trusted source and connectSee Trusted sources and Connecting.
Creating a MongoDB database
- 1Pick MongoDB as the engine
- 2Choose a versionMongoDB 8.0 or 7.0 — whichever you pick is exactly what gets installed on your cluster.
- 3Pick a package and region, name it, and create
- 4Wait for active status, then add a trusted source and connect
Creating a MySQL database
- 1Pick MySQL as the engine
- 2Choose a version and create as usualThe version dropdown lists more than one option, but clusters currently provision on MySQL 8.0 regardless of which one you pick.
- 3Pick a package and region, name it, and create
- 4Wait for active status, then add a trusted source and connect
Creating a Redis database
- 1Pick Redis as the engine
- 2Choose a version and create as usualClusters currently provision on Redis 7 regardless of which version you pick.
- 3Pick a package and region, name it, and create
- 4Wait for active status, then add a trusted source and connect
allkeys-lru eviction policy and a memory cap from your package — there's no persistence-mode toggle on the Create Database form.After creation
A cluster typically moves from provisioning to active within a short time — a live "Provisioning logs" panel on the database's page shows each setup step as it happens, and the status updates automatically once it's done. If you chose Private network, the cluster still refuses every connection once active until you add a trusted source — that's expected, not an error.
Deleting a database
Open the database's page and use the Delete action to tear it down. Deletion also removes its data, so this action asks for confirmation before it proceeds.